
Outdoor Wild Living gear guide · Updated October 15, 2026. Fall hiking rewards you with cooler air, colorful woods and fewer summer bugs, but it also makes clothing mistakes obvious. A comfortable morning can turn into a windy ridge, a surprise shower or a damp afternoon. The solution is not to wear the heaviest jacket in the closet. It is to combine clothing that moves sweat away, traps warmth when needed and blocks wind and rain when conditions change. The right combination depends on your pace, the route and the forecast, not a single temperature printed on your phone.
This guide explains how to choose a flexible layering system using gear you may already own. It also shows how to avoid starting too warm, how to protect extra clothing in your pack and how to recognize when conditions have become more serious than a minor comfort problem. Clothing is one part of a safe trip: route planning, daylight, food, water and a way to summon help still matter.
Begin with the forecast, then plan for the trail
Check the forecast for the actual trail area and elevation before you leave, not just the town where you park. Hilltops and exposed ridges can feel windier than valleys, while forested sections may stay damp and shaded long after sunrise. Note the temperature at the expected start, at the highest point and around your planned return. Then check precipitation, wind and daylight. An early start in October may call for gloves, while the same afternoon in direct sun could be comfortable in a thin shirt. The point is to anticipate those changes and pack choices, rather than guessing that one outfit will work all day.
Compare the forecast with your route. A short nature path near the car gives you an easier exit than an all-day ridge hike. Creek crossings, wet leaves, steep descents and exposed summits increase the consequences of getting cold and tired. Tell someone where you intend to go and when you expect to return. Download a usable map in advance if service is unreliable. Even excellent rainwear does not make a thunderstorm, flooded crossing or deteriorating trail safe.
Three jobs, three types of layers
A traditional system has three parts. The base layer manages moisture against your skin. A midlayer holds some warmth near your body. An outer shell limits the effects of wind and rain. You do not have to wear all three at the same time. In fact, a common autumn mistake is wearing all of them on the first climb, then soaking the inside of the clothing with sweat. Dress for the work you are about to do, and keep an extra layer where you can reach it without unpacking everything.
Think about each garment by its job rather than by marketing words. A soft fleece can insulate well but offer little wind protection. A thin waterproof shell can block wind and rain but provide minimal insulation by itself. A heavy cotton sweatshirt may feel comforting in the parking lot yet become a cold, wet burden when the trail turns steep. A flexible combination is often lighter, easier to dry and more useful than one bulky coat. The best system is the one you understand well enough to adjust.
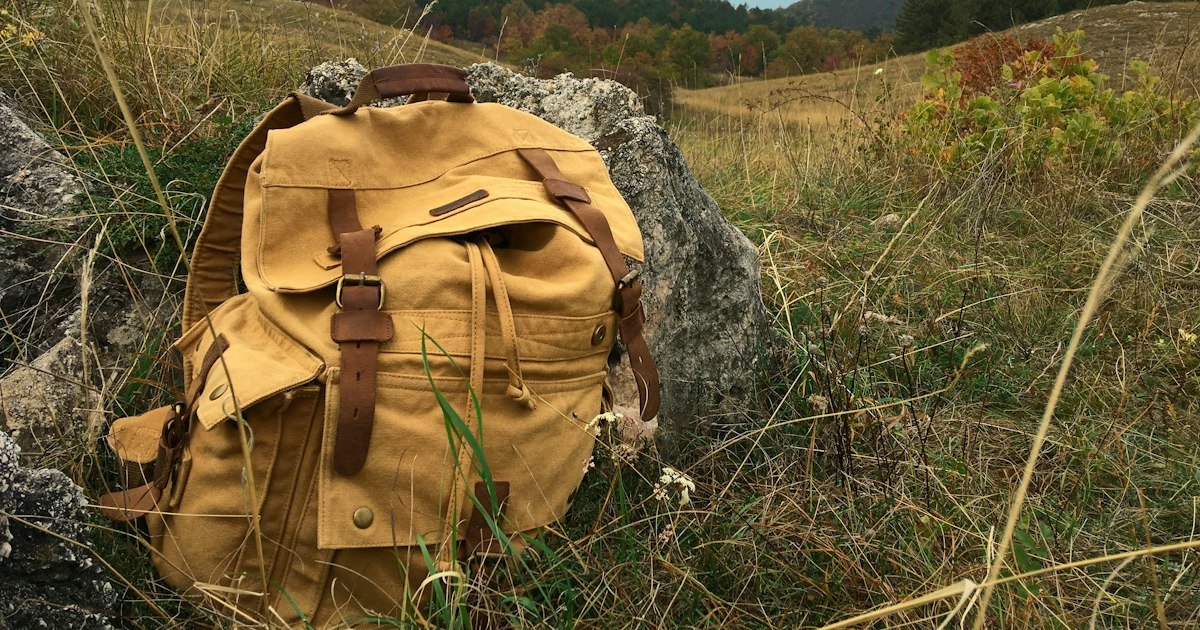
Choose a base layer that handles perspiration
Your base layer is the shirt and, when appropriate, the long underwear that touch your skin. Lightweight synthetic fabrics and merino wool are popular because they generally manage moisture better than ordinary cotton. Synthetics often dry quickly and may be less expensive. Merino can feel comfortable across a range of temperatures, but it costs more and needs care. Neither fabric makes a person immune to cold. Fit and activity level still matter, so a shirt that feels great during a slow walk may become clammy on a hard climb if you overdress.
A practical starting point for cool fall weather is a thin long-sleeve top that lets you move freely under your pack straps. Choose a fabric weight that matches the day and consider carrying a dry backup if your hike is long or the weather looks unstable. Do not ignore underwear or socks when making moisture choices. Wet cotton next to the skin can become uncomfortable quickly when the wind picks up. Try the complete system on a neighborhood walk first; discovering that a seam rubs under a backpack is easier close to home.
Use a midlayer for warmth, not waterproofing
A fleece, lightweight insulated jacket or wool sweater can act as a midlayer. Fleece is useful for active hiking because it often breathes well and dries faster than many casual sweatshirts. An insulated jacket may be especially helpful during breaks or while standing on a windy overlook. Synthetic insulation generally tolerates damp conditions better than untreated down, while down can offer excellent warmth for its weight when kept dry. Choose the option that suits your route and budget instead of assuming the most expensive jacket is automatically the safest.
Keep the midlayer easy to remove or put on. At the start of a climb you may only need a base layer, but the first long rest stop can change that. Put the extra warmth on before you become shivery. If you are already sweating heavily, slow down, open a zipper or remove insulation while conditions permit. Avoid waiting until your clothing is wet through. Small adjustments early are usually more comfortable than trying to recover from overheating after the fact.
Understand what your outer shell can and cannot do
The shell is the barrier against wind and precipitation. A lightweight wind jacket may be fine for a dry, breezy afternoon, but it is not a substitute for a waterproof jacket when sustained rain is possible. Water-resistant fabrics may shed a brief drizzle and then wet through. Waterproof-breathable rain jackets offer better weather protection, although even good membranes can feel humid inside during hard exertion. Look for adjustable cuffs, an effective hood, a zipper that moves smoothly and ventilation features you will actually use.
Do a fit test over your other layers. A shell that compresses an insulating jacket or restricts your arms will be frustrating with a pack on. A jacket that balloons in the wind can be equally annoying. Protect your neck and head, but keep adequate visibility on technical terrain. Rain pants may be worth packing in cold, sustained rain even if they seem unnecessary on a mild day. Your decision should reflect the exposure of the route, not just the forecast’s largest weather icon.
Regulate heat while climbing and at rest
One of the most useful habits on a hike is to adjust clothing before your body sends a loud warning. Many hikers begin with a slight chill, then warm up within the first several minutes of steady walking. That does not mean you should ignore dangerous cold, but it does explain why starting in a full winter coat can make you sweat. Walk at a sustainable pace, use zippers and vents, and stop briefly to remove a layer before it is damp. Keep clothing you might need next near the top of your pack.
Rest stops reverse the situation. When you stop generating as much heat, damp fabric and wind can cool you rapidly. Put on insulation promptly, find a sheltered spot and consider a warm hat. Eating, drinking and maintaining a sensible pace support comfort, too. If someone in the group becomes unusually cold, clumsy, confused or exhausted, treat that as a safety concern rather than a simple preference about clothing. Shorten the route and seek appropriate help when symptoms suggest cold-related illness.
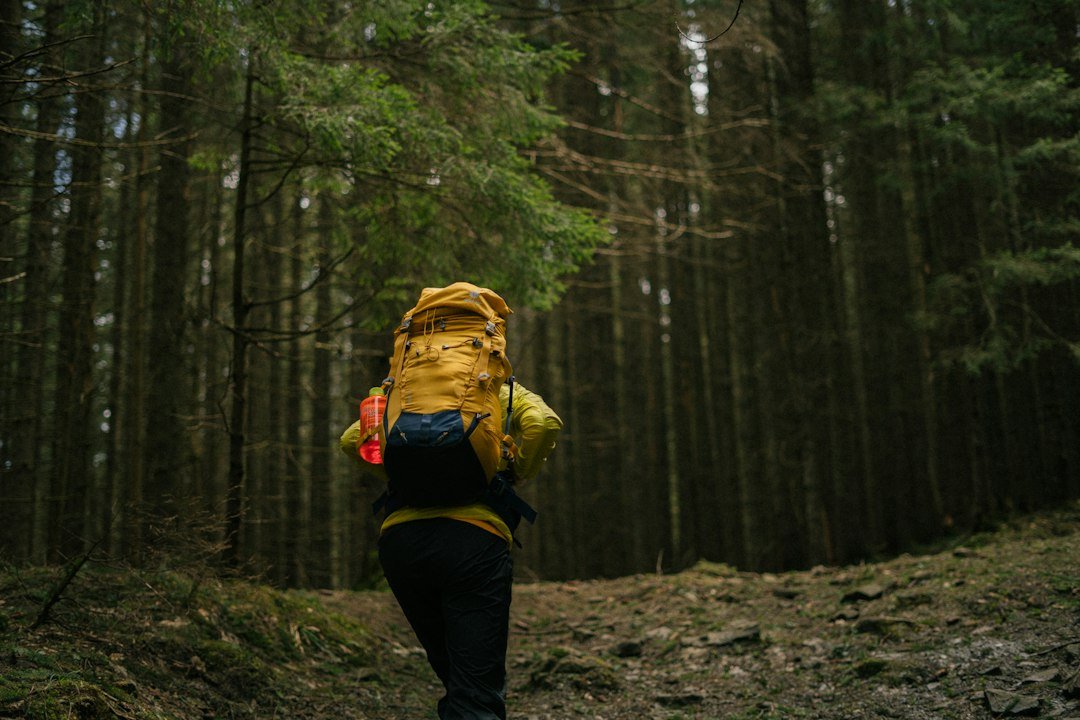
Keep your feet dry and protect small exposed areas
Socks, shoes and the condition of the trail influence comfort as much as jackets. Choose socks that manage moisture and fit without bunching inside your shoes. Merino blends and purpose-made synthetic hiking socks are common options. Bring a dry spare pair in a sealed bag when rain or wet ground is likely. Shoes should suit the route and your experience: aggressive waterproof boots are not automatically better for every short trail, and a shoe that traps moisture can be uncomfortable if water gets inside over the collar.
In fall, leaves may hide mud, loose rocks and roots. Slow down when footing is uncertain, and avoid stepping on wet logs simply because they offer a shortcut. Light gloves and a hat take up little space but can make a windy stop much more pleasant. A neck gaiter is another compact option for exposed ridges. If conditions are cold enough for ice, traction and route selection become separate considerations. Clothing cannot compensate for inadequate footwear or unsafe terrain.
Protect your extra layers inside the backpack
An emergency spare layer is only useful if it stays dry until needed. A simple dry bag or a waterproof liner inside your backpack can protect a fleece, socks and extra base shirt. Do not assume the pack’s outer fabric will keep out a steady shower; many packs absorb water around zippers, seams or openings. A rain cover may help in mild rain, but an internal waterproof barrier is more dependable for truly important dry items. Close bags properly, particularly after taking something out during a rest stop.
Pack for access as well as capacity. Put your shell in an outer pocket or near the top so that the first raindrops do not force you to empty the entire pack. Stow the emergency insulating piece in a dry compartment. Keep gloves and a hat where you can find them without taking off every layer. Try carrying the pack at home before a longer outing; a poorly balanced load can make even light clothing feel exhausting and lead to unnecessary stops.
Build a simple day-hike outfit without overspending
A workable fall kit does not require replacing every piece of clothing you own. Start with a quick-drying shirt, comfortable hiking pants, weather-appropriate socks and footwear you have already tested. Add a fleece or light insulating layer and a genuinely protective shell when the forecast calls for it. Carry a hat, gloves and dry spare socks as needed. If an old jacket still blocks wind effectively and fits over your layers, it may be perfectly suitable for a short outing. Spending more does not fix poor packing or a bad route decision.
Prioritize purchases by the problems you actually experience. If you regularly finish hikes soaked in sweat, revisit the base layer and how warmly you start. If a chilly breeze cuts through your fleece, a shell may help more than another sweatshirt. If your feet blister, socks and shoe fit deserve attention before you buy a premium jacket. Read care labels and repair small problems instead of treating every scuff as a reason to replace a functional item.
Three sample setups for changing autumn weather
For a dry, cool woods walk near home, you might wear a synthetic long-sleeve top, comfortable pants and hiking shoes, with a fleece and wind-resistant jacket in the pack. For a breezy ridge hike, the same base layer can work, but an accessible wind or rain shell, warm hat and extra insulation become more important. For a colder outing with a high chance of rain, plan on a protective waterproof shell, suitable insulating layer and an internal dry bag for spare clothes. None of these examples is a fixed temperature prescription. Elevation, wind, fitness, trail length and individual tolerance make a meaningful difference.
If you plan to take photographs at an overlook, remember that standing still while others explore can cool you more than walking. Likewise, an energetic uphill section may require fewer layers than a shaded downhill return. Use the system as a set of choices, not a uniform. Check the forecast again at the trailhead and be willing to choose an easier route or head home if conditions worsen.
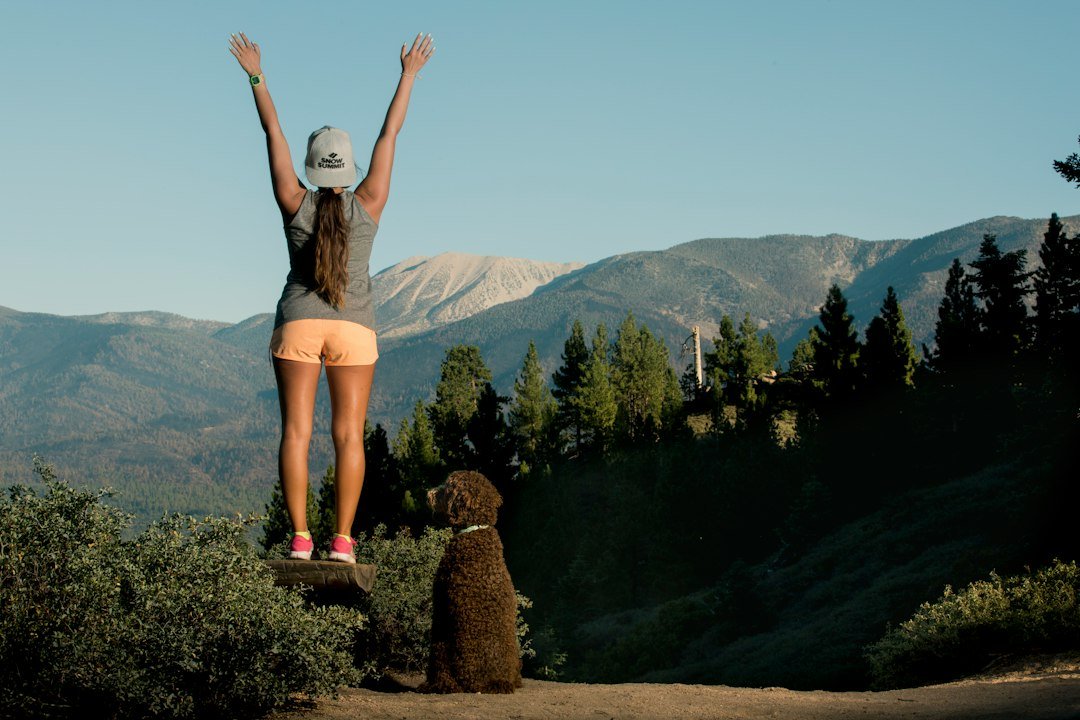
Avoid mistakes that turn a minor chill into a problem
Common mistakes include wearing cotton next to the skin in cold, wet weather; packing a rain jacket at the very bottom of a bag; leaving no dry insulation for breaks; and assuming a waterproof label means unlimited protection in every storm. Another is confusing being warm at the car with having adequate clothing for the whole route. If you sweat through your shirt on a climb, the chilly descent can be miserable even when the air temperature barely changes. Carry layers you know how to adjust, not an unfamiliar collection bought the night before.
Be cautious when group members experience weather differently. Children, slower walkers and people who stop frequently may need a different combination from the fastest hiker. Agree on checkpoints where everyone can reassess clothing and route conditions. Do not encourage someone to keep going merely because another person feels fine. The National Park Service notes that confusion, loss of coordination and uncontrolled shivering can be warning signs of hypothermia. Get the person into shelter and dry clothing and seek emergency help when those signs appear.
Care for your gear when you get home
After the hike, unpack wet shells, socks and base layers promptly. Hang them where they can dry completely and follow garment care labels, especially for waterproof membranes and water-repellent finishes. Leaving a damp jacket compressed inside a pack can encourage odor and shorten its useful life. Empty pockets, inspect seams and zippers, and make a note of what stayed dry or became uncomfortable. That short review is more useful than relying on memory when you pack for the next trip.
Clean footwear as recommended and dry it away from excessive direct heat that could damage materials or adhesives. Repack the items you used from your basic safety kit. If you found a blister point, rain leak or uncomfortable fit, correct it before the next outing. A good layering system becomes better with ordinary experience: each trip teaches you what to wear at the beginning, what to carry for later and what you can leave at home.
A final checklist and trusted reading
Before leaving, check the trail-specific forecast, choose a moisture-managing base layer, carry insulation for rest stops and bring an appropriate weather shell. Protect backup clothing from rain. Include navigation, lighting, water, food and a way to contact help. Tell someone your route. Adjust clothing early when you begin sweating or when a stop leaves you chilled, and change the plan if the weather no longer fits your preparations.
For additional guidance, see the National Park Service cold-weather preparation guide, REI’s layering explainer and National Park Service hypothermia information. Those sources support the general safety principles here. This article does not endorse a specific garment or brand, and it includes no invented product affiliate links. Choose the gear you can use confidently, then enjoy the colors and quieter trails of autumn.

0 Comments