
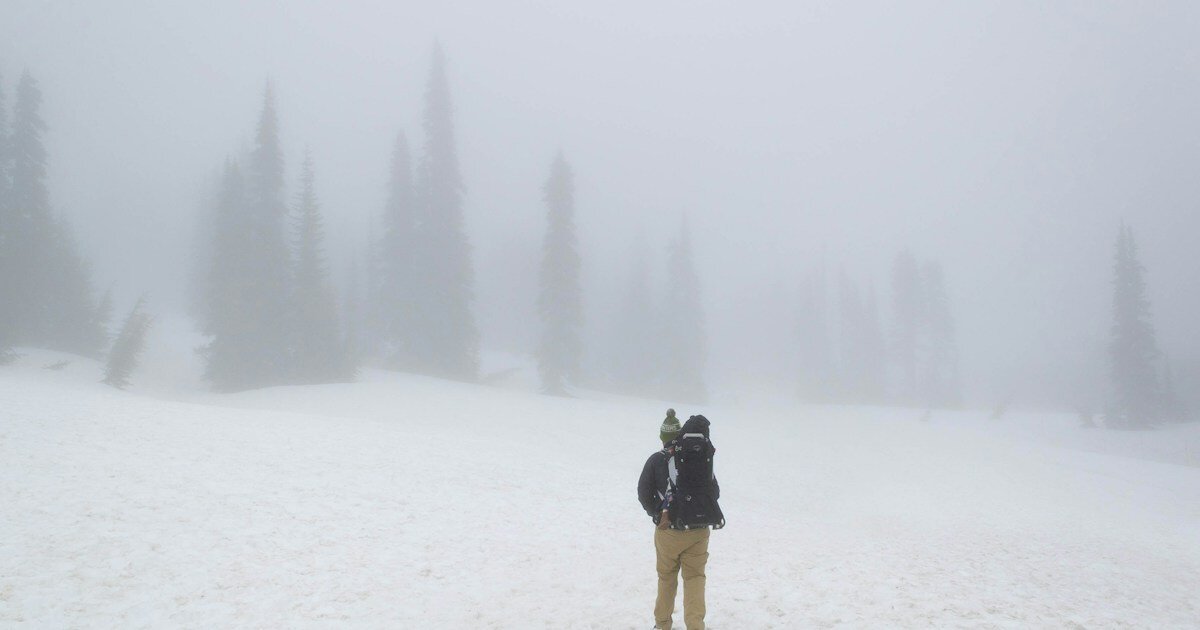
Cold-weather hikes can be beautiful—and deceptively risky. Even a familiar trail changes after snow, wind, freezing rain or early darkness. Recognizing cold stress and deciding when to turn around matter more than owning the most expensive jacket.
This detailed safety guide draws on National Weather Service, National Park Service and American Red Cross advice. It focuses on prevention and seeking qualified assistance, not self-diagnosis.
A familiar trail becomes a different place in winter
A short route that feels effortless in September can become demanding after snow, freezing rain, and early darkness arrive. Familiar landmarks may disappear, parking access can change, and a stream crossing may become unsafe. An afternoon walk does not need to be an expedition, but it deserves a different plan when temperature and weather can impair movement. Winter safety starts with assessing whether the trip should happen, not with buying the thickest jacket. The National Park Service advises winter visitors to check current conditions, understand that trails and elevations can be more difficult, and tell someone their plan. The National Weather Service warns that cold exposure can cause frostbite and hypothermia, sometimes faster than people expect. This guide focuses on hazard recognition, conservative decisions, and practical preparation. It does not replace wilderness first-aid training, an emergency response professional, or advice from a qualified healthcare provider for a person with a health condition.
Temperature alone does not tell the whole story
A thermometer reading can be misleading if it ignores wind, wet clothing, exertion, and the distance to shelter. Wind increases heat loss from exposed skin, which is why official forecasts provide wind-chill information in relevant conditions. Moisture also matters. Rain, snowmelt, and perspiration can reduce insulation and accelerate cooling. A person may become seriously cold during a windy, wet outing even when the air temperature is above freezing. Begin by looking at the hourly forecast, expected precipitation, wind, and sunset. Consider the coldest likely conditions during the return trip, not only the pleasant weather at the trailhead. Avoid using a single gear rating as proof that the outing will be safe. Terrain, personal experience, fitness, and emergency access all change the risk. An apparently modest weather change can turn a delayed return into a dangerous exposure problem.
The first decision is whether to go at all
Experienced outdoor travelers cancel plans when the conditions or their equipment do not provide an adequate margin of safety. That is not a failure. Ask whether the route is open, whether weather advisories are active, and whether the vehicle can reach and leave the trailhead. Consider icy grades, falling limbs, high winds, low visibility, and temperatures that could be difficult if someone becomes injured or stops moving. If the answer relies on everything going perfectly, choose a shorter or easier outing. A local nature walk, accessible park route, or indoor alternative may deliver the same enjoyment with less risk. For a new winter hiker, a well-known short loop near reliable help is a better first test than a remote ridge or unmaintained forest road. Build confidence gradually, preserving a deliberate turnaround time and enough daylight to handle a slower-than-expected return.
Write down a real route plan
A winter itinerary should identify the trailhead, intended route, expected duration, alternate exits, and the latest return time. Give that information to someone who will not be hiking with you, and agree on what they should do if you miss a check-in. Offline maps and a charged phone are helpful, but battery capacity and service can decline in cold or remote locations. Carry a navigation backup suitable for your route and know how to use it. Avoid relying only on a blue dot that may appear accurate without showing a closed trail, downed bridge, or hazardous seasonal crossing. A planned turnaround point helps when the landscape is beautiful but the pace is slower than expected. The objective is to make decisions before exhaustion, fear, or darkness narrow your options. A route plan is particularly valuable on days when fewer people will be outside to notice a problem.
Recognize early signs of hypothermia
Hypothermia is a dangerous loss of body heat and can become life threatening. The National Weather Service and American Red Cross identify warning signs such as shivering, unusual tiredness, confusion, impaired coordination, slurred speech, and changes in alertness. Someone experiencing hypothermia may not accurately judge their own condition. Do not interpret growing confusion as simple clumsiness or stubbornness. The response should prioritize getting the person out of the cold, preventing further heat loss, and obtaining appropriate medical help. In a serious emergency, call 911 or local emergency services as soon as possible. Handle the person gently and follow recognized first-aid guidance; avoid improvised heating methods that create burn or heart risks. A hiking group should agree in advance that any member can call for a stop if someone begins acting unusually. Recognizing symptoms early is far more important than trying to complete the planned distance.
Understand why shivering is not the only clue
Shivering can be an early sign that the body is responding to cold stress, but not every dangerous situation looks like a person visibly shaking. Changes in speech, decision-making, coordination, or consciousness may signal a serious problem. A person who has become confused may deny feeling cold or may make poor choices about removing clothing, continuing uphill, or leaving shelter. Group members should observe one another, especially during breaks when heat production from walking decreases. Do not use a single symptom as a diagnostic test. The Red Cross treats hypothermia as an urgent cold-related emergency requiring protection from further heat loss and appropriate care. If somebody appears seriously unwell, prioritize emergency assistance, safe shelter, and first aid as trained. A route that was reasonable an hour earlier is no longer the priority. Winter plans should be flexible enough that safety overrides the day’s original destination.
Frostbite is a tissue injury, not just cold fingers
Frostbite occurs when tissue freezes, commonly affecting exposed or poorly protected areas such as fingers, toes, ears, and nose. Official guidance identifies changes in sensation, abnormal skin color, waxy appearance, and coldness as possible warning signs. Pain or redness may precede more obvious changes, so do not wait until an area looks dramatically damaged. A person with numb hands may also struggle to operate a phone, zipper, stove, or navigation device, increasing the risk of further exposure. Move to a safer environment promptly, protect the affected area from additional injury, and seek medical guidance. The Red Cross advises against rubbing frostbitten tissue, which can worsen damage. Specific rewarming decisions depend on conditions and whether refreezing might occur; those decisions belong in formal first-aid guidance, not improvised internet instructions. Treat suspected frostbite seriously, even when the injured person believes the problem is minor.
Do not rub or directly overheat a frozen area
Well-meaning bystanders may suggest vigorously rubbing cold fingers, placing feet against a heater, or exposing numb skin to very hot water. Those approaches can worsen tissue damage or cause burns, especially when sensation is reduced. The American Red Cross advises gentle handling and careful warming under appropriate circumstances, while obtaining medical attention for suspected frostbite. If the person is also showing signs of hypothermia, caring for the body’s core temperature and arranging emergency help take priority. Avoid walking on severely frostbitten feet when a safer option is available, because additional tissue damage can occur. If the setting is so cold that a rewarmed area would freeze again, a trained responder’s guidance is especially important. This article deliberately avoids presenting a one-size-fits-all home treatment recipe; first aid needs to reflect injury severity, weather, evacuation options, and professional instructions.
Wet clothing changes the entire equation
A person who falls into water, gets soaked by rain, or sweats heavily during a steep climb can lose heat much faster when the pace slows. Before the outing, choose clothing that can manage moisture and carry a dry insulating layer in a waterproof bag. When someone becomes wet, seek shelter, replace saturated clothing when feasible, and prevent further exposure. Avoid continuing into colder conditions while hoping body heat will solve the problem. A water crossing that looks shallow may conceal ice, slippery rocks, or a strong current, and winter conditions raise the consequences of getting wet. A spare pair of dry socks can help with comfort but is not a substitute for a safe route and a dry layer for the body. The key is preventing a manageable inconvenience from becoming an emergency miles from the vehicle.
Cold exposure can happen in above-freezing weather
Many people associate hypothermia only with deep snow and bitter subzero days. The National Weather Service notes that dangerous cooling can occur in relatively mild temperatures, particularly when a person is wet or exposed for a long time. This is relevant to Pennsylvania’s late autumn and early winter, when rain may fall during the day and temperatures decline after sunset. A hiker dressed for an afternoon in the 40s can become dangerously cold after a delay, an ankle injury, or a long break in wet clothing. Assess the actual weather sequence rather than the high temperature printed at the top of a forecast. Bring appropriate protection for wind and moisture, and know where shelter exists. If the weather deteriorates, shorten the route rather than waiting for conditions to become extreme. Prevention begins while the person still feels comfortable.
Hands and feet deserve an independent plan
Hands and feet can become cold even when the torso feels warm. Poorly fitting boots, damp socks, exposed wrists, and inadequate gloves can limit comfort, dexterity, and safety. Test boots and clothing on a shorter outing before relying on them in remote weather. Carry a dry spare pair of gloves and socks in a protected bag if the trip warrants it. Check that gloves allow you to handle poles, zippers, map, phone, and emergency equipment without prolonged exposure. Do not tie footwear so tightly that circulation becomes a concern. Some hikers use hand or toe warmers, but those products have use instructions, temperature limitations, and burn risks; follow their warnings rather than placing them directly against insensitive skin. A person with persistent numbness or unusual discoloration should not simply push through until the next scenic viewpoint. The equipment plan is successful only if it supports real function and prevents cold injuries.
Manage exertion so you do not become soaked in sweat
Hiking uphill in heavy insulation can generate enough heat that the inner layers become damp. When the pace slows on the ridge or during a rest, that moisture can increase heat loss. Adjust ventilation and layers before you overheat, not only after you are drenched. Choose a walking pace suited to the least experienced member and stop periodically to assess comfort and conditions. This advice is different from assuming you must always be cold to stay dry; the objective is reasonable temperature control, not discomfort. An extra dry layer in the pack gives options if weather changes or somebody must remain still while waiting for help. Be careful around exposed skin when removing layers in high wind. Planning for both exertion and inactivity is one reason winter clothing systems require thought beyond a single expensive coat.
Build a realistic emergency kit
A winter daypack should address basic problems that can become serious when the temperature drops: navigation, light, communication, warmth, water, simple first aid, and a way to manage an unexpected delay. Items may include a charged phone, a power bank protected from cold, a headlamp, offline map, emergency insulation, appropriate spare clothing, snacks, water, and any individually necessary medication. The correct kit varies by terrain and remoteness; hauling unnecessary weight can create fatigue without adding meaningful safety. The National Park Service encourages planning for winter conditions and communicating an itinerary. The pack is useful only if you know where its contents are and how to use them. Test equipment at home. A flashlight that has a dead battery, an emergency shelter never unpacked, or a phone with an unusable charging cable is less valuable than it appears on a checklist.
Phone batteries and cold-weather communication
Cold temperatures can reduce the usable performance of many rechargeable batteries, particularly when a phone is left exposed for long periods. Store essential electronics in a protected location and avoid relying on one device for mapping, communication, and light. A small compatible power bank and cable can provide redundancy, but they must themselves be charged and kept within safe operating conditions. Preload maps and emergency contacts while you have service. If you hike in genuinely remote areas, investigate whether a dedicated emergency communication device is appropriate, while understanding coverage and subscription limits. Send the route plan to a trusted person so that a missed return has context. Avoid broadcasting sensitive live-location information publicly to strangers. Technology can help summon assistance, but it should support—not replace—conservative navigation and weather decisions. A predictable return time is still one of the most useful safeguards.
Ice, hidden water and traction decisions
Snow may hide smooth ice, mud, loose rock, wet leaves, or gaps between stones. A familiar trail can become difficult when traction changes from one shaded turn to another. Choose footwear appropriate to the expected surface and evaluate whether traction aids are suitable, following their manufacturer instructions. Do not assume spikes make every steep slope or icy crossing safe. Poles can assist with balance in some situations, but they do not eliminate fall risk. A slip that causes injury far from the vehicle can lead to extended cold exposure even when the temperature seemed manageable at departure. In risky conditions, shortening the route is often the safest choice. Treat frozen streams and pond edges with particular caution; surface ice thickness and stability are not reliably judged by appearance. A winter outing should not require gambling on an uncertain crossing to finish the planned loop.
Set a turnaround time before leaving home
One of the most useful winter safety habits is deciding when to turn back before the hike begins. Base that time on available daylight, weather forecasts, route length, elevation, group pace, and the need for a safety margin. Do not wait until the viewpoint is almost reached to consider the return. If the route is taking longer than expected, the correct decision may be to reverse course early. A trail that climbs steadily at first may take much longer to descend safely when covered in ice. Remember that delays for photographs, clothing changes, and navigation can accumulate. Every member of the group should feel able to call for a return without pressure. There will be another opportunity to visit the destination. The goal is to arrive home safely, not to prove a point about completing the originally planned distance.
What to do when someone cannot keep walking
An injury or sudden illness changes the urgency of cold-weather protection. Stop further exposure, assess the person’s condition within your training, and contact emergency services when appropriate. Keep the person protected from wind, wet ground, and falling precipitation while arranging help. Avoid forcing someone who is confused, seriously hypothermic, or badly injured to continue hiking simply to reach the trailhead faster. Follow emergency dispatch instructions and recognized first-aid procedures. Know how to describe your location using trail names, GPS coordinates, nearby landmarks, or an official map. If a group splits up for assistance, make decisions carefully so nobody becomes another casualty. A trip plan shared with someone at home can assist responders if communication fails. No article can replace real-time emergency guidance; the practical objective is recognizing when a recreational outing has become a situation requiring qualified help.
Your winter trail partner is part of the safety system
Hiking with another person can provide valuable support when conditions become difficult, but it also requires honest communication. Agree on route, pace, turnaround time, and the right to stop before departure. Check whether anyone has gear or experience limitations that would make the proposed route unsuitable. During the hike, watch for unusual silence, confusion, repeated stumbling, or behavior that seems out of character. Do not mock someone who says their hands are numb or they are too cold to continue. A group that presses on despite a member’s concerns can increase everyone’s risk. When traveling alone, be especially conservative about route choice and communication. A buddy is not a guarantee of safety, but cooperative decision-making and early recognition of problems can prevent an avoidable emergency.
A first winter outing should be intentionally modest
If you have never hiked in snow, begin with a short, familiar route where the vehicle and reliable help are reasonably accessible. Test boots, layers, traction, navigation, and gloves in conditions that permit an easy return. Pay attention to where moisture accumulates and how quickly your hands cool during a break. Check the same trail’s condition reports before returning under more difficult weather. Build confidence gradually rather than jumping from a summer park walk to a long winter ridge hike. The learning objective is to understand your own equipment and decision-making, not to collect a dramatic photograph. Outdoor skills improve through repeated manageable outings. Some days the best lesson is discovering that a forecast or trail surface makes an alternative activity more sensible. A conservative beginner trip can still be beautiful, educational, and memorable.
A scenario: sunlight on the climb, ice on the return
Imagine a group starting on a sunny Pennsylvania afternoon with the temperature just above freezing. The first mile feels easy and warm. On a shaded section, the trail turns icy, the pace drops, and daylight begins disappearing. One hiker’s gloves are wet from handling snow, while another realizes the phone battery is nearly empty. The safest response is not to insist on reaching the overlook because the group is “almost there.” Turn back while there is still daylight, protect cold hands, manage the route carefully, and update the shared return contact if possible. This is a hypothetical example, not a report of a local rescue. It illustrates how several modest problems can combine into a dangerous delay. Individual weather risks matter, but the interaction among time, terrain, equipment, and group decisions often determines whether a winter outing remains manageable.
A scenario: the hiker who suddenly becomes confused
A second hypothetical group stops for a rest after hiking through wet snow and strong wind. One member who seemed fine earlier becomes unusually quiet, struggles to answer simple questions, and appears disoriented. Those symptoms should not be dismissed as ordinary fatigue. The group should consider a cold-related emergency, protect the person from further heat loss, call for appropriate help, and follow recognized first-aid guidance. Do not make the person continue toward a distant destination or apply improvised aggressive heat treatment. The Red Cross and National Weather Service emphasize that hypothermia can become life threatening. Practical action depends on the situation, including location, exposure, and responder guidance. The important lesson is recognizing that decision-making itself can be impaired by cold stress. Every hiker should know the warning signs well enough to act early for someone else.
A winter hiking planning checklist
Before leaving, check the National Weather Service forecast and relevant advisories, current trail conditions, road access, and sunset. Tell a trusted person the route and expected return. Choose a turnaround time and identify alternate exits. Wear suitable clothing and carry dry insulation, gloves, and enough water and food for the plan. Include reliable light, navigation, communication, and basic emergency supplies. Inspect footwear and decide whether traction equipment fits the conditions. During the outing, control sweat, monitor wind and wetness, and check on group members’ warmth and alertness. Turn around early if weather, pace, or equipment is not adequate. If symptoms of frostbite or hypothermia appear, prioritize getting to safety and seeking appropriate medical assistance. After returning, tell your contact you are home and note any gear or planning improvements for next time. Preparation works best as a habit.
Frequently asked questions
Can hypothermia occur when it is above freezing? Yes, especially with wetness and prolonged exposure. Is numbness in fingers normal enough to ignore? No; loss of sensation can be a warning sign of cold injury. Should I rub frostbitten skin to warm it? The Red Cross says not to rub the affected area. Do I need a route plan for a familiar trail? In winter, sharing a route and return time is valuable even for familiar places. Is a phone enough for navigation and rescue? Do not rely on one battery and uncertain reception. When should the group turn back? Before the conditions consume its daylight and safety margin. Are traction aids a guarantee on ice? No; terrain and technique still matter. If someone becomes confused or seriously unwell in the cold, seek emergency help rather than trying to finish the hike.
Official references and important limitations
The National Weather Service cold-safety information and its frostbite and hypothermia guidance explain environmental hazards and warning signs. The American Red Cross cold-emergency guide and frostbite first-aid resources are authoritative starting points for appropriate response. The National Park Service winter hiking tips emphasize route planning, weather and communication. This article is a practical outdoor planning guide and cannot diagnose or treat injuries. Call emergency services for suspected serious cold injury or a person with altered consciousness. Seasonal trail access, conditions and weather can change quickly; verify them before going out. Reviewed November 22, 2026.


0 Comments